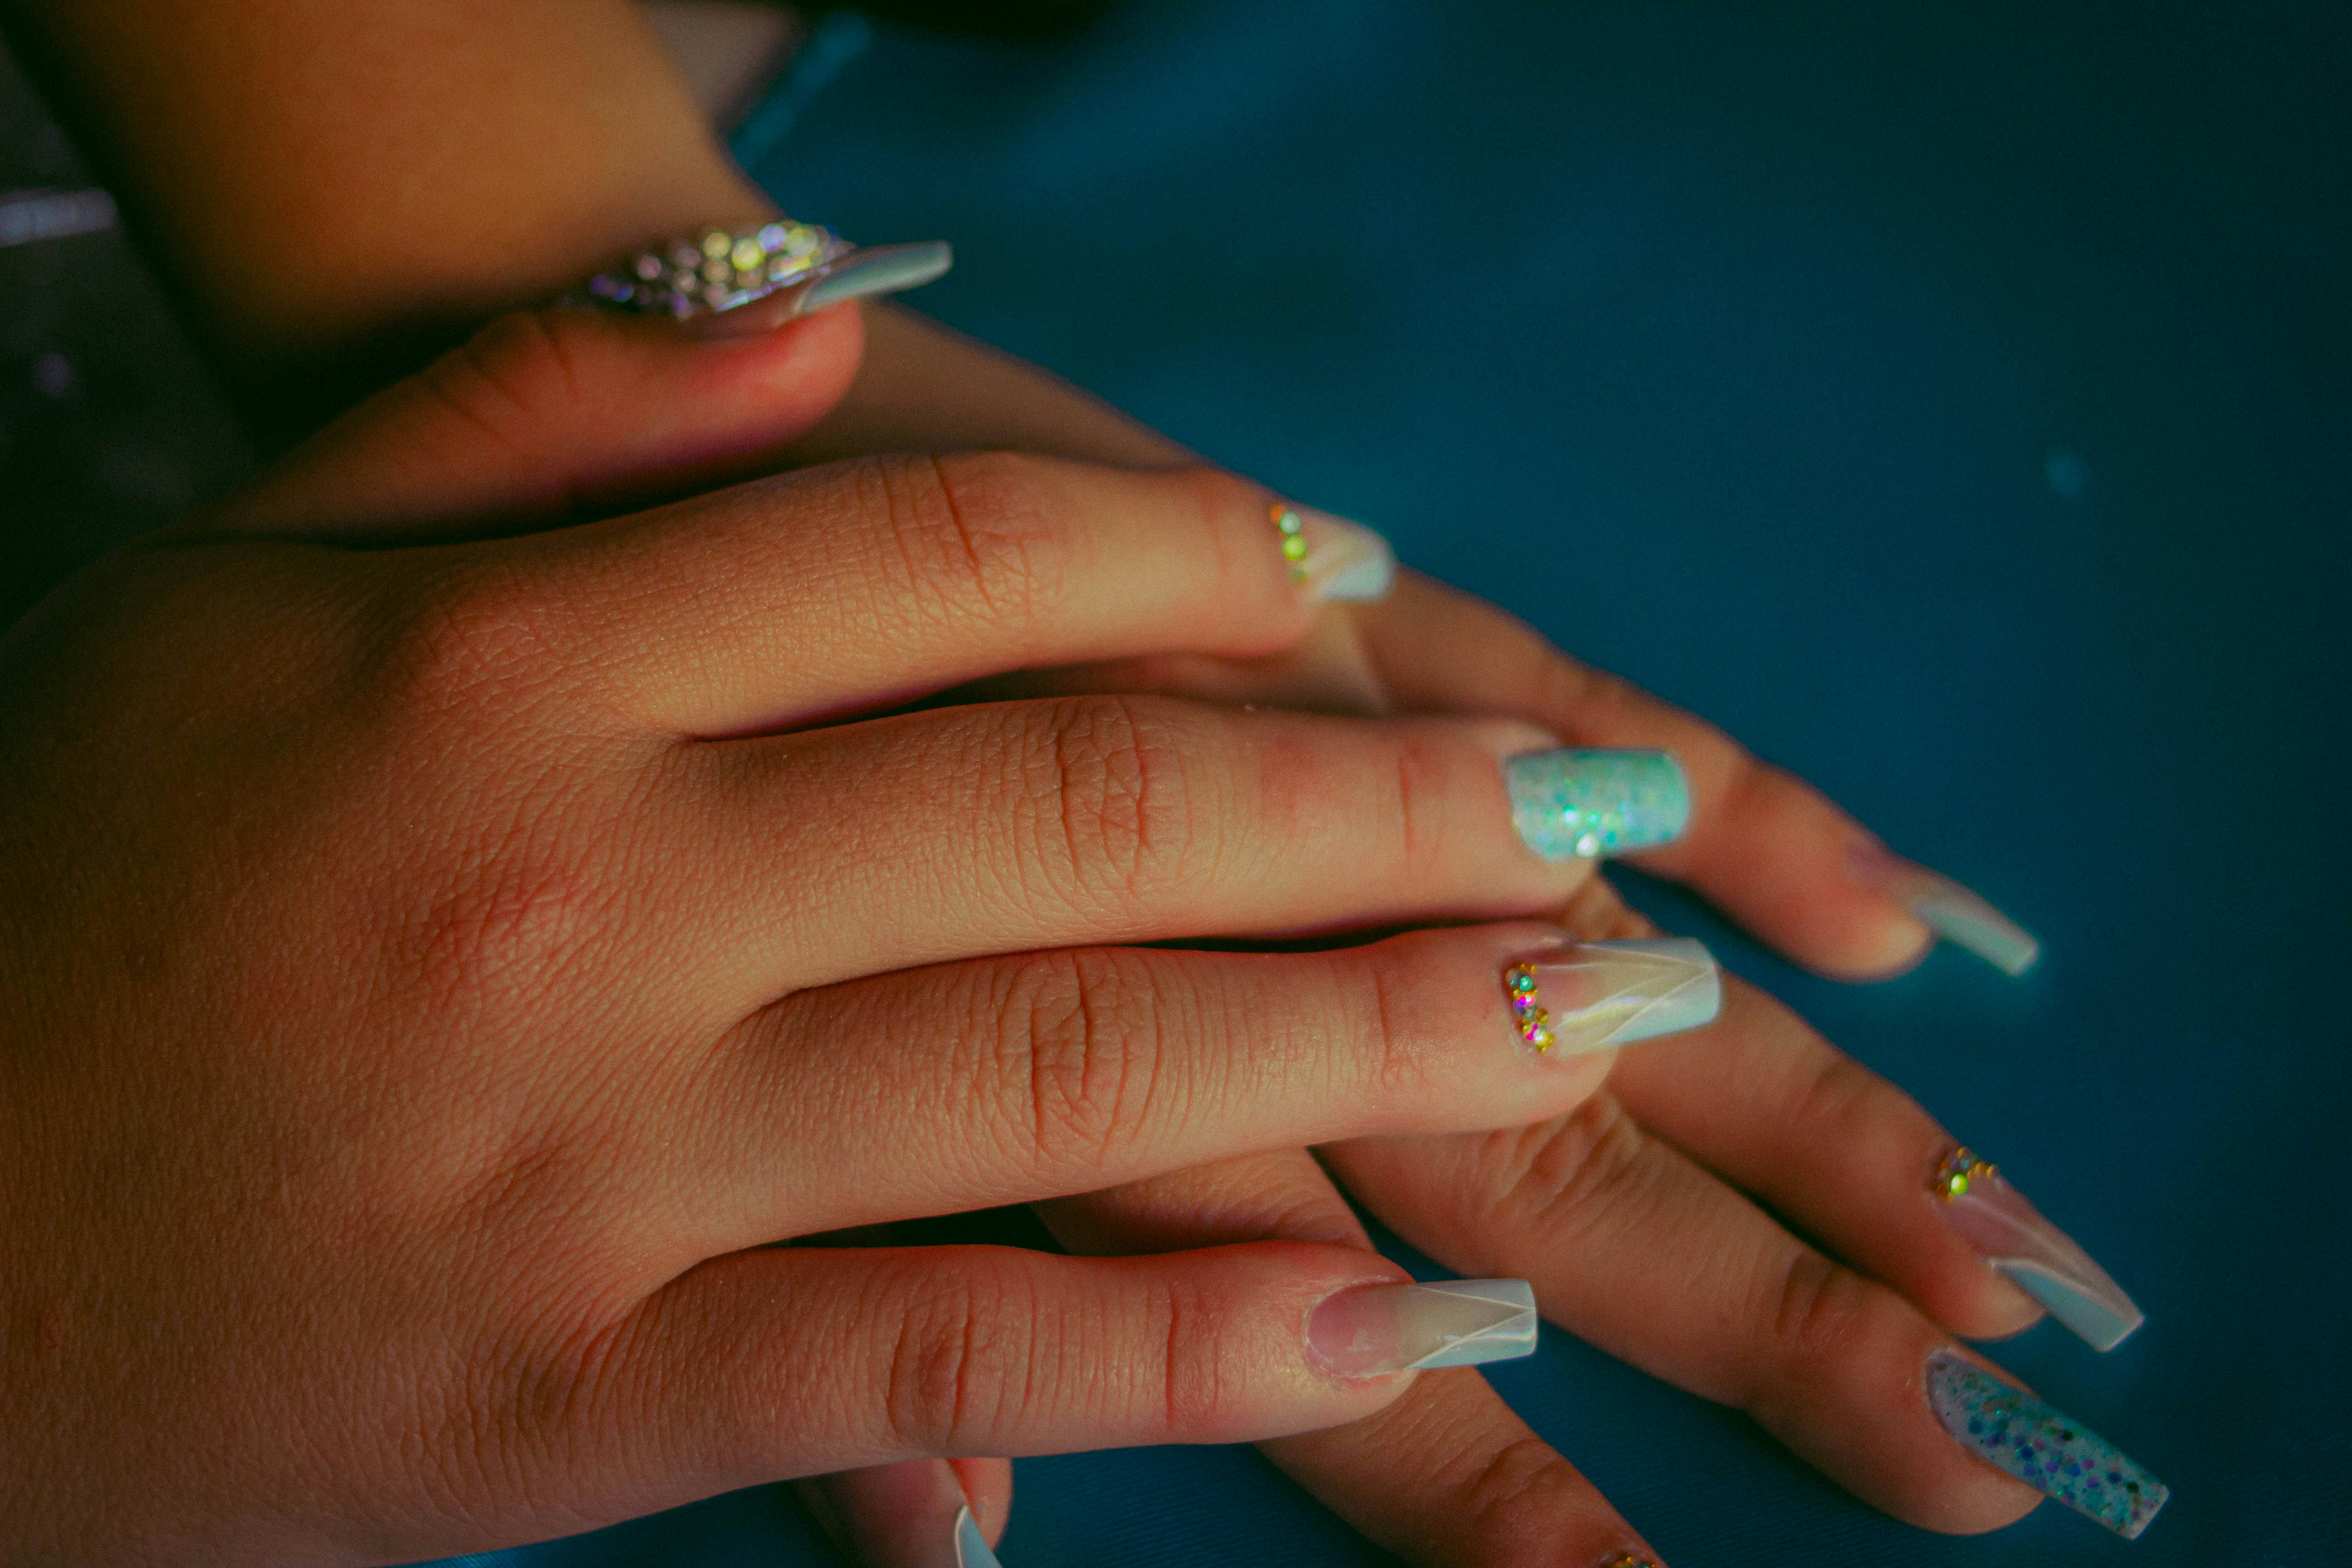
The Rise of Ice Blue Nails
Ice blue nails have made a significant resurgence in the fashion scene, captivating the attention of beauty enthusiasts worldwide. This refreshing hue reflects the serene beauty of winter, resonating with the changing seasons and the aesthetic transitions of the year. The essence of ice blue lies in its ability to evoke feelings of tranquility and elegance, making it a sought-after color in nail art.
Over the past few seasons, ice blue has become increasingly prominent on runways and in various fashion campaigns. Leading designers have embraced this tone, utilizing it in their collections to complement the ethereal and crisp vibes associated with winter themes. As a result, fashion icons and influencers have adopted ice blue nails, showcasing them across social media platforms. The trend has gained popularity, particularly on Instagram, where nail designs featuring this cool color have garnered thousands of likes and shares.
Key influencers and nail artists have played a pivotal role in propelling ice blue nails into the spotlight. They have creatively showcased this shade by combining it with intricate designs, such as snowflakes and glitter accents, ultimately celebrating the versatility and beauty of this color. Famous nail technicians have also innovated techniques that enhance the icy allure of blue nail polish, demonstrating that the trend is not only about color but also about artistic expression.
The cultural significance of ice blue can be traced back to its connotations of peace and calmness, making it an ideal choice during the bustling holiday season. This calming effect, paired with its aesthetic appeal, ensures that ice blue nails will remain a staple in nail trends, firmly establishing themselves as a winter favorite among women seeking a chic yet understated manicure.
Why Choose Ice Blue?
The popularity of ice blue nails has surged in recent years, and this trend is attributed not only to its aesthetic appeal but also to the psychological effects associated with this serene color. Ice blue evokes feelings of calmness and tranquility, making it a perfect choice for women seeking a sense of peace in their busy lives. Many find that this lovely hue can uplift their mood, creating a soothing atmosphere that resonates well in various settings.
One of the most compelling aspects of ice blue nails is their versatility. Whether one is attending a formal event, casual get-together, or even a day at the office, ice blue complements almost any outfit. A statement shared by Sarah, a marketing executive, reflects this versatility: “I chose ice blue for my sister’s wedding, and I was pleasantly surprised at how well it matched my floral dress. It was elegant yet fun!” This adaptability makes ice blue an excellent option for women who wish to express their style without overwhelming their look.
Additionally, ice blue nails can enhance various skin tones, from porcelain to deep olive, allowing women of all complexions to find a shade that suits them. According to Amanda, a beauty blogger, “Ice blue nails look stunning on every skin tone. It adds a fresh and fashionable pop without clashing with my natural color. It’s truly become my go-to!” This adaptability fosters an emotional connection to the color, elevating the overall appeal of ice blue nails. The trend is not merely about aesthetic enjoyment; it encourages women to embrace their individuality and express themselves authentically, positioning ice blue nails as a favored choice among fashion-conscious women.
Techniques for Achieving the Perfect Icy Finish
To achieve the stunning icy finish characteristic of ice blue nails, certain techniques and materials can enhance both appearance and longevity. The essential first step in this process lies in preparing the nails. Begin by cleaning and trimming the nails to your desired length, shaping them with a nail file to create a polished appearance. Once shaped, gently buff the surface to remove any ridges, which helps the polish adhere effectively.
Next, apply a suitable base coat—preferably one that promotes adhesion. Many nail technicians recommend using a ridge-filling base coat, which not only helps the ice blue polish stay in place but also creates a smooth surface for application. Allow the base coat to dry completely before proceeding.
For the main color, the choice of polish is crucial. Select a high-quality ice blue nail polish known for its formulation and opacity. Nail brands such as OPI and Essie have become popular among the nail art community for their extensive color ranges and reliable finishes. Apply the ice blue shade in thin layers—usually two coats suffice to achieve the desired opacity. Wait for each coat to dry completely to prevent smudging and ensure an even application.
Once the polish is dry, the final touch is key to achieving that signature glassy look. Utilize a glossy top coat to enhance the shine and durability of your ice blue nails. Gel top coats can provide a higher level of shine, giving your nails that frosty effect reminiscent of freshly fallen snow. Alternatively, regular high-gloss top coats can also yield excellent results.
For added embellishment, consider using nail art stencils or decals that feature snowflakes, which blend seamlessly with the icy theme. A touch of glitter around the base where the nail meets the cuticle can also amplify the frosty appearance, completing the stunning look of ice blue nails.
Incorporating Snowflakes into Your Nail Design
In recent years, the ice blue nails trend has gained significant popularity, particularly during the winter months. One of the most visually appealing aspects of this trend is the incorporation of intricate snowflake designs. These snowy embellishments can add a touch of elegance and creativity to any manicure. Here are some innovative techniques for integrating snowflakes into your ice blue nail designs.
First, stencils present a great option for those seeking precision. Available in various shapes and sizes, snowflake stencils can be placed on the nail before applying polish. Once the base color is dry, simply apply a contrasting polish to the stencil, and you’ll achieve a stunning snowflake design. This method is particularly useful for beginners or those looking for a quick and polished result.
Stickers are another convenient choice for incorporating snowflakes into nail art. They come in an array of designs, ranging from simple to complex. One can easily apply these stickers once the ice blue base coat has dried. To ensure longevity, a top coat can be applied over the stickers for added durability and shine.
For those with more artistic flair, freehand techniques allow for maximum customization. Using a fine brush and white or metallic polish, you can create unique snowflake designs directly on your nails. This approach permits creativity with different sizes and styles, ensuring that your manicure reflects your personal taste. You might even consider adding some sparkle by embedding tiny rhinestones within your snowflake designs, which will enhance the wintry aesthetic.
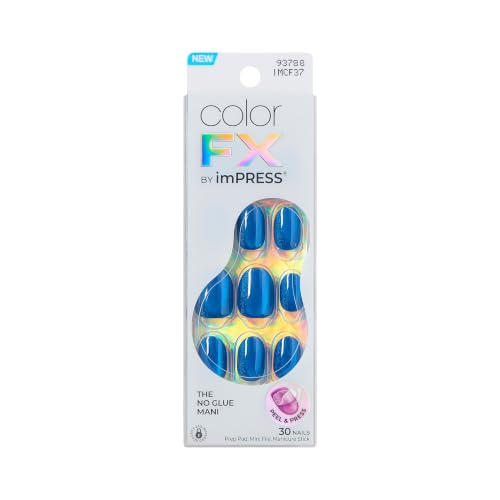
- The ‘Pearlfect’ Solid Color Mani: Create a MAJOR moment in minutes with colorFX by Impress; This is color reimagined, no…
- Discover Must-Have Colors & Finishes: Soft hues blend with bold styles, creating a captivating palette that goes beyond …
- The EASIEST NO GLUE Instant Mani: With IMPROVED adhesive for long-lasting wear; Ready-to-wear, one-step press on nails; …
Overall, whether you opt for stencils, stickers, or freehand artistry, the possibilities for incorporating snowflakes into your ice blue manicure are limitless. With a little creativity and practice, you can create a beautiful and unique design that celebrates the charm of winter.
The Role of Chrome Finishes
In recent years, chrome finishes have emerged as a popular trend in nail art, particularly within the realm of ice blue nails. This emerging style elevates a simple color palette to an entirely new level of sophistication, offering a dazzling effect that captures light beautifully. The reflective quality of chrome not only enhances the ice blue hue but also adds a modern twist that appeals to a wide range of aesthetic preferences.
Achieving a chrome effect can be accomplished through various methods, each catering to different skill levels and preferences. For those who seek the salon experience, professional nail technicians often utilize specialized chrome powders that are applied over a gel base. This technique typically requires the use of an UV lamp to cure the gel, ensuring a long-lasting finish. The application process can be intricate, involving layering and buffing to attain that mirror-like shine synonymous with chrome nails.
For DIY enthusiasts, there are equally rewarding options available. Many nail art supplies now offer chrome powders specifically designed for at-home use. These powders can be combined with either gel or regular nail polish to create similar luminous effects. Additionally, certain dip powder systems allow users to achieve a glossy chrome look without the need for extensive equipment. Simply dip the nails into the powder, activate with a bonding solution, and seal with a top coat to achieve stunning results.
In conclusion, whether opting for a professional salon treatment or a DIY approach, chrome finishes can significantly enhance ice blue nails while aligning with the broader snowflake nail trend. With such versatility and visual appeal, incorporating chrome effects ensures that ice blue nails remain a fashionable choice across varying occasions, making them a worthwhile consideration for any nail art enthusiast.
Seasonal Looks: Transitioning Ice Blue Nails
Ice blue nails have emerged as a captivating trend, particularly during the winter months. This particular shade not only symbolizes the chill of winter but also complements various seasonal occasions beautifully. Transitioning ice blue nails for different winter events is both fun and creative, allowing for personalization that aligns with the mood of each specific occasion.
For holiday parties, incorporating elements of sparkle can elevate ice blue nails to fit the festive spirit. Consider adding glittery finishes or nail art that reflects traditional holiday symbols, such as snowflakes or stars. A gradient effect combining ice blue with silver glitter can create an elegant look, showcasing a balance of sophistication and festive charm.
Everyday wear calls for a more subtle approach. A simple matte finish or a soft sheen can make the ice blue nails appropriate for casual outings while retaining a chic appearance. Pairing ice blue with neutral tones or muted pastels can create a wearable look, allowing women to enjoy this shade without it feeling overly adorned.
For special events, such as winter weddings or galas, ice blue can act as a stunning base for intricate nail art. Consider combining it with other seasonal colors like deep navy or rich burgundy for an eye-catching contrast. Adding fine details such as lace patterns or delicate flowers can bring a romantic touch that aligns perfectly with the elegance of the occasion.
In essence, the versatility of ice blue nails can seamlessly carry through different winter occasions, making it a staple for any winter beauty regimen. Whether the choice leans towards glitzy, matte, or paired colors, ice blue remains a timeless option that suits various festive needs while making a statement during the colder months.
Nail Health Considerations
Maintaining healthy nails is crucial, especially when indulging in trending styles like ice blue nail designs. The applications of vibrant nail colors can sometimes impact the integrity of your nails, so incorporating a solid nail care routine is essential.
Before applying any nail polish, ensure that your nails are clean and well-prepped. Start with a gentle buffing to remove any ridges and create a smooth surface. Following this, consider applying a base coat that includes nourishing ingredients. This will not only help your chosen color adhere better but also protect your nails from staining.
Please choose display type!Additionally, hydration plays a significant role in nail health. Regularly apply a nourishing cuticle oil and keep your hands moisturized to prevent peeling and brittleness. Look for products that contain natural oils, such as jojoba or almond oil, which can penetrate the nail and enhance overall vitality.
It is also vital to choose high-quality nail products. Look for polishes that are free from harmful chemicals like formaldehyde and toluene, as these can weaken the nails over time. Opt for brands that prioritize nail health and use formulations that condition your nails alongside providing color.
After removing ice blue nail designs, avoid the common pitfall of excessive soaking, as too much exposure to water can weaken your nails. Instead, utilize gentle removers that reduce the likelihood of damage, and always hydrate your nails afterward.
By following these tips and being mindful of nail care practices, you can enjoy beautiful ice blue nails and uphold their health, ensuring they remain strong and resilient against potential damage.
Celebrity Inspiration for Ice Blue Nails
Ice blue nails have gained significant popularity in recent years, especially among celebrities who are known for their trendsetting styles. Various public figures have embraced this enchanting color, often pairing it with playful snowflake designs that capture the essence of winter elegance. Notably, actress and singer Vanessa Hudgens has sported stunning ice blue nails that showcase intricate snowflake patterns, inspiring her followers to adopt the trend. Her social media posts featuring these manicures frequently garner thousands of likes, indicating the widespread appeal of this chic nail art.
Another celebrity who has made waves with ice blue nails is Kylie Jenner. Known for her daring beauty choices, Jenner has been seen flaunting a minimalist ice blue manicure adorned with delicate white snowflakes. This subtle yet sophisticated look has inspired many young women to experiment with similar styles for a fresh take on winter nail art. The influence of Jenner’s style on current trends can be observed through the numerous recreations shared by fans across social media platforms, further solidifying the popularity of the ice blue variation.
In the realm of fashion modeling, Gigi Hadid has also embraced the ice blue trend, often showcasing her nails in public appearances and photo shoots. The combination of cool tones and intricate designs has set a benchmark for nail art aesthetics. Hadid’s stunning ice blue manicure is frequently highlighted in fashion magazines and blogs, encouraging countless others to adopt this trendy look.
As seen from these celebrities and their unique interpretations of ice blue and snowflake designs, it is evident that their influence plays a significant role in shaping modern nail trends. For those looking for inspiration to try this enchanting look, these celebrities offer a plethora of ideas through their social media channels, where fans can see direct examples of ice blue nails paired with fashionable ensembles.
Where to Find Inspiration and Tutorials
Exploring the world of ice blue nails and the captivating snowflake nail trend can be an exhilarating journey. For those seeking inspiration and hands-on tutorials, various resources abound across multiple social media platforms and blogs. Firstly, Instagram serves as a treasure trove of artistic nail designs; searching through hashtags like #IceBlueNails and #SnowflakeNails can unveil an impressive variety of styles. Notable accounts to follow include @nailartbyqueenie, who frequently shares creative themes, and @nailsbymei, known for her stunning icy designs with intricate detail.
TikTok is another dynamic platform where nail art enthusiasts are finding their footing. Many influencers regularly showcase quick tutorials, offering step-by-step guides perfect for beginners and experienced nail artists alike. Accounts like @nailsonfleek demonstrate trendy nail applications, while @the.nail.sorceress provides engaging and easy-to-follow snowflake nail art tutorials sure to inspire any ice blue enthusiast.
YouTube also remains a credible source for in-depth nail tutorials. Channels like Simply Nailogical offer comprehensive guide videos on creating various nail art designs, including seasonal inspirations perfect for achieving the snowflake aesthetic. The informative nature of these videos allows viewers to acquire techniques at their own pace, making it an essential resource for learning new skills.
Additionally, dedicated nail art blogs such as Nail It! and The Nail Polish Society often feature articles and how-to guides focused specifically on ice blue and seasonal nail trends. These platforms not only provide step-by-step instructions but also discuss different products that can enhance the nail art experience. Utilizing these resources will not only expand one’s creativity but will also keep you updated with the latest trends in nail design.